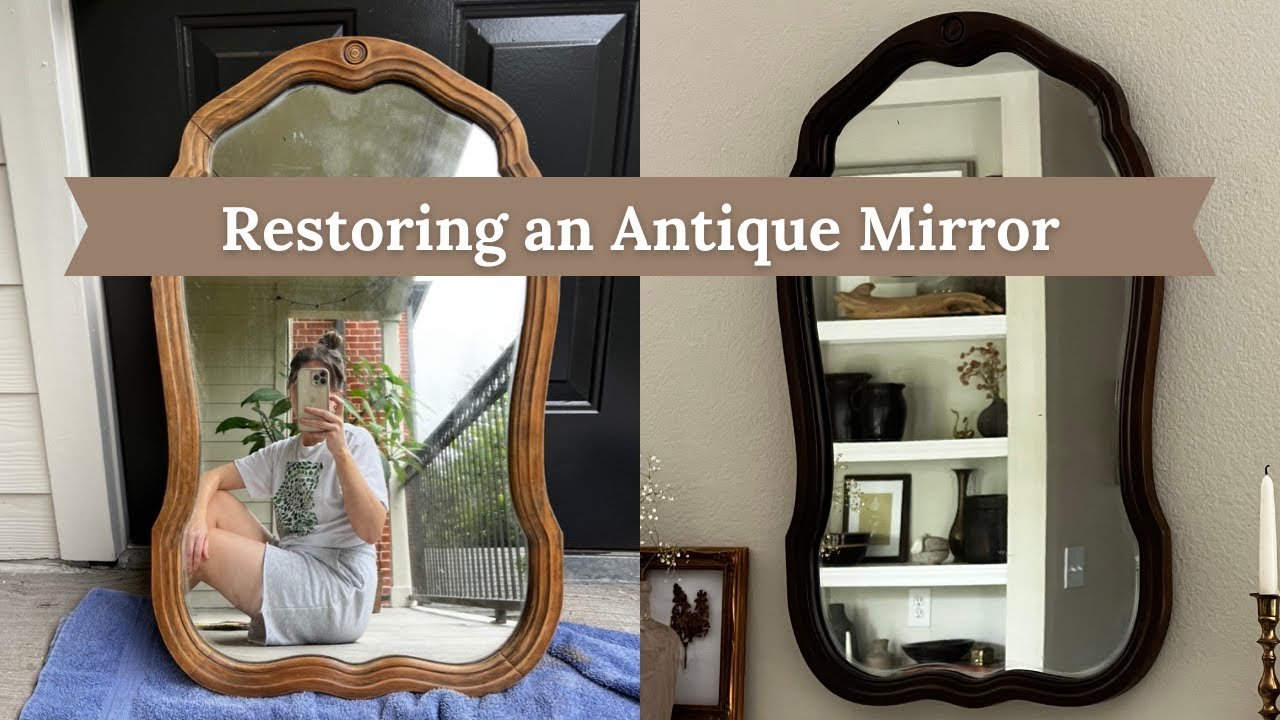
Fixing an old mirror is easier than you think. With a few tools, you can restore its charm.
Old mirrors often hold sentimental value. They can be family heirlooms or vintage finds. But over time, mirrors can get scratched or develop spots. Instead of discarding them, consider repairing them. Fixing an old mirror can be a rewarding project.
You can save money and preserve memories. Plus, a restored mirror adds character to any room. This guide will help you fix an old mirror step-by-step. Let’s get started on bringing your mirror back to life.

Credit: www.pinterest.com
Assessing Mirror Damage
Before diving into the repair process, it’s crucial to assess the damage to your old mirror. Understanding the type and extent of the damage will help you decide whether to repair or replace it. Let’s explore how to identify common issues and evaluate if restoration is feasible.
Identifying Common Issues
Old mirrors can suffer from various problems. Here are some common issues:
- Scratches: Small surface marks that can dull the reflection.
- Black Spots: Also known as desilvering, these are dark areas where the reflective coating has deteriorated.
- Cracks: Visible lines that can weaken the mirror’s structure.
- Loose Frames: The frame may separate from the mirror, making it unstable.
Identifying these issues early helps in planning the repair process effectively.
Evaluating Restoration Feasibility
Once the damage is identified, evaluate if the mirror is worth restoring. Consider these factors:
| Factor | Details |
|---|---|
| Extent of Damage | Minor scratches and small black spots are easier to fix. Extensive cracks or large areas of desilvering may require professional help. |
| Sentimental Value | If the mirror holds sentimental value, you might prefer to repair it despite the cost. |
| Cost of Repair | Compare the repair cost with the price of a new mirror. Sometimes, replacement is more economical. |
| DIY vs. Professional | Assess if you can handle the repair yourself or if it requires professional services. |
Consider these factors carefully. Making an informed decision saves time and money.
Gathering Necessary Tools
Fixing an old mirror can be a rewarding project. The first step is gathering all the necessary tools. This ensures a smooth process. It saves time and effort. Below are the essential supplies and safety equipment you will need.
Essential Supplies
To fix an old mirror, you need some basic supplies. Here is a list of essential items:
- Mirror Adhesive: Secure the mirror in place.
- Glazier’s Points: Hold the mirror securely.
- Putty Knife: Apply and smooth out putty.
- Replacement Mirror: In case the old one is beyond repair.
- Frame Material: Wood or metal for repairing the frame.
Safety Equipment
Safety is crucial when handling glass. Here is a list of safety equipment you should have:
- Gloves: Protect your hands from sharp edges.
- Safety Glasses: Shield your eyes from glass shards.
- Dust Mask: Prevent inhalation of dust particles.
Cleaning The Mirror
Cleaning an old mirror can be a simple task if done right. Proper cleaning not only improves clarity but also extends its life. Here’s how to tackle it.
Removing Dirt And Grime
First, gather your supplies. You will need a soft cloth, water, and mild soap. Avoid harsh chemicals that can damage the surface.
Dip the cloth in soapy water. Wring out excess water to prevent drips. Gently wipe the mirror in circular motions. This helps remove dirt and grime without scratching the glass. For edges and corners, use a cotton swab dipped in soapy water.
Rinse the cloth with clean water. Wipe the mirror again to remove soap residue. Dry the surface with a dry, lint-free cloth. This prevents streaks and leaves a clear finish.
Dealing With Stubborn Stains
Some stains need extra effort. For these, use a mixture of vinegar and water. Combine equal parts in a spray bottle.
Spray the solution on the stained area. Let it sit for a few minutes. This loosens the stain.
Wipe the area with a soft cloth. Use gentle, circular motions. For tough stains, you may need to repeat the process.
If the stain remains, try using a small amount of baking soda. Sprinkle it on a damp cloth. Rub the stain gently. Baking soda acts as a mild abrasive. It can help lift stubborn marks without scratching.
Always finish by wiping the mirror with a clean, damp cloth. Dry it with a lint-free cloth to ensure a streak-free shine.
Credit: abeautifulmess.com
Repairing Scratches And Chips
Old mirrors often have scratches and chips. These can reduce the mirror’s beauty. But don’t worry. You can fix them with some simple methods. Let’s look at how to repair scratches and chips on your mirror.
Using Polishing Compounds
Polishing compounds can help remove small scratches. You will need a soft cloth and a polishing compound. Follow these steps:
- Clean the mirror with a soft, damp cloth. Dry it completely.
- Apply a small amount of polishing compound to the scratch.
- Rub the compound in circular motions with the soft cloth.
- Continue rubbing until the scratch fades.
- Wipe the area with a clean, damp cloth. Dry it again.
Filling Deep Scratches
Deep scratches need more effort. You will need a mirror repair kit. These kits usually include resin and an applicator. Here are the steps:
- Clean the area around the scratch. Make sure it’s dry.
- Apply the resin to the scratch using the applicator.
- Let the resin dry according to the instructions.
- Once dry, polish the area with a soft cloth.
Fixing chips is similar. First, clean the chipped area. Then, apply a small amount of resin to the chip. Let it dry. Finally, polish the area with a soft cloth.
Using these methods, your old mirror can look new again. Repairing scratches and chips is easy with the right tools and techniques.
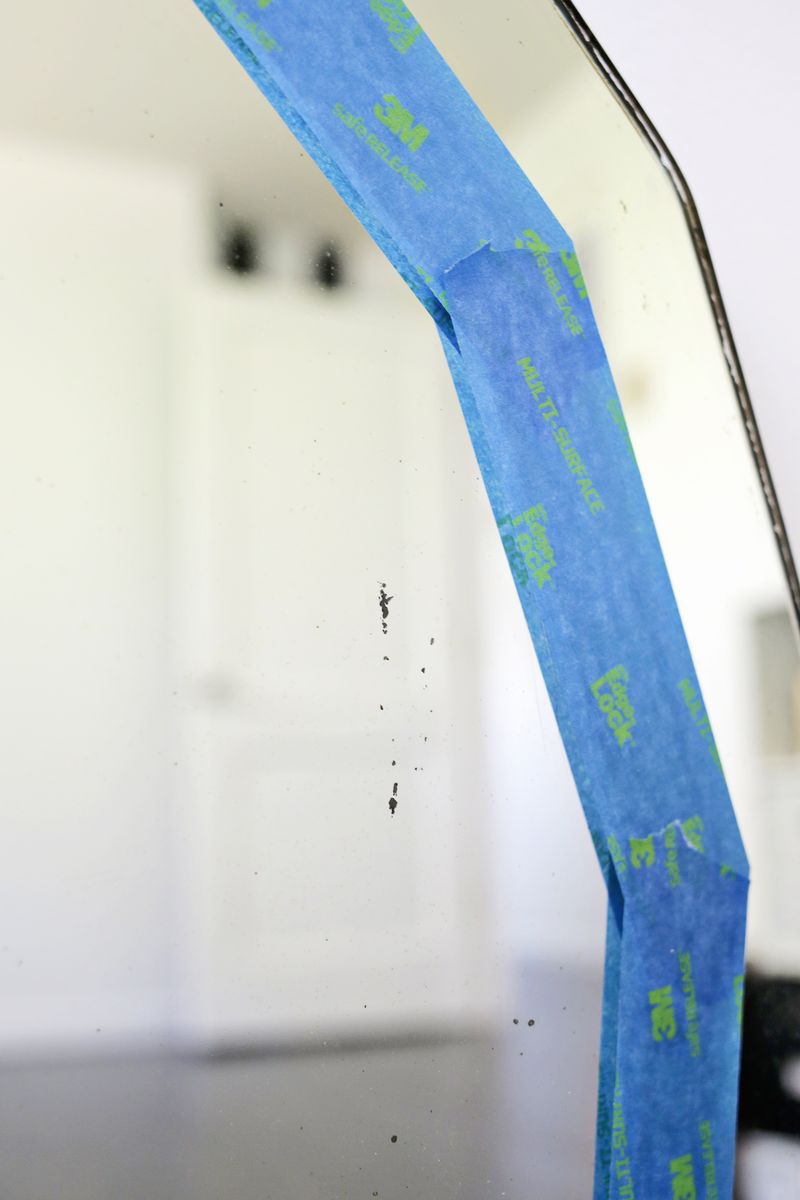
Fixing Black Spots
Old mirrors can develop black spots over time. These spots occur when the mirror’s backing, known as silvering, gets damaged. Fixing these black spots can restore your mirror’s beauty.
Silvering Process
Silvering is the process of coating the back of a mirror with a reflective material. In older mirrors, this is often silver nitrate. Over time, the silver can tarnish or peel away, creating black spots. To fix this, you need to reapply the silvering.
Here is a basic guide:
- Remove the mirror from its frame.
- Clean the back of the mirror to remove dust and debris.
- Apply a silvering solution to the back of the mirror.
- Allow it to dry completely.
Alternative Solutions
If you want a simpler fix, consider these alternative solutions:
- Mirror Paint: Use a special mirror paint to cover the black spots. This is a quick fix but may not last as long as re-silvering.
- Mirror Film: Apply a mirror film to the back of the mirror. This can hide the black spots and provide a smooth finish.
- Replace the Mirror: If the damage is extensive, replacing the mirror might be the best option.
These methods can help you restore your old mirror without the need for professional help.

Credit: www.reddit.com
Re-silvering The Mirror
Re-silvering an old mirror can bring it back to life. It involves removing the damaged silver backing and applying a new one. This process can be done at home with the right tools. Below, we will guide you through the steps. We will also discuss when to seek professional help.
Step-by-step Guide
- Gather Your Materials: You will need paint remover, gloves, a protective mask, a scraper, a silvering kit, and glass cleaner.
- Remove the Old Silver: Apply paint remover to the back of the mirror. Let it sit for a few minutes. Scrape off the old silver with the scraper.
- Clean the Glass: Use a glass cleaner to remove any residue. Ensure the glass is completely clean and dry.
- Apply the New Silver: Follow the instructions in your silvering kit. This typically involves applying a chemical solution and then the silver. Work in a well-ventilated area.
- Let It Cure: Allow the new silver backing to dry and cure. This may take a few hours or overnight.
- Inspect Your Work: Check for any spots or imperfections. Touch up if necessary.
Professional Help
Re-silvering a mirror at home can be challenging. If you are unsure, it may be best to seek professional help. A professional can ensure the job is done correctly and safely. They have the right tools and experience to handle delicate mirrors. This can save you time and prevent potential damage to your mirror.
| DIY Re-Silvering | Professional Help |
|---|---|
| Cost-effective | More expensive |
| Requires specific tools | Professionals have all necessary tools |
| Time-consuming | Quick and efficient |
| Risk of mistakes | High-quality results |
Consider your comfort level and the condition of the mirror. If the mirror is a valuable heirloom, professional help is advisable. For a simple DIY project, follow the steps above for a shiny, new-looking mirror.
Framing And Support
An old mirror can lose its charm if its frame or support is damaged. Fixing the frame and support can breathe new life into your beloved mirror. Here’s how to do it step by step.
Reinforcing The Frame
If the frame of your mirror is weak or damaged, reinforcing it is crucial. A sturdy frame ensures the mirror stays in place and maintains its aesthetic appeal.
- First, inspect the frame for any loose joints or cracks.
- Use wood glue to secure any loose joints. Clamp them until the glue dries.
- For cracks, fill them with wood filler and sand them smooth once dry.
- Consider adding corner braces for extra support. Attach them with screws to the back of the frame.
Reinforcing the frame can make a significant difference in the stability and longevity of your mirror.
Replacing Broken Parts
Broken parts in the frame can make your mirror look shabby. Replacing these parts is essential for a polished look.
- Identify the broken parts and measure them accurately.
- Purchase replacement parts that match the original material and design.
- Remove the broken parts carefully using a chisel or a small saw.
- Install the new parts using wood glue and finishing nails.
- Once in place, sand any rough edges and touch up with matching paint or stain.
Replacing broken parts not only enhances the appearance but also provides better support for the mirror.
By focusing on framing and support, you can restore your old mirror to its former glory. Whether reinforcing the frame or replacing broken parts, these steps ensure your mirror remains a stunning centerpiece in any room.
Final Touches
After repairing an old mirror, the final touches make a big difference. This step involves buffing and polishing, and some preventive maintenance tips. Let’s dive into these crucial steps to ensure your mirror looks its best and stays that way for years to come.
Buffing And Polishing
Buffing and polishing your mirror is essential for a perfect finish. Here’s a simple guide to follow:
- Gather Materials: Soft cloths, a polishing compound, and a buffing pad.
- Apply Polishing Compound: Put a small amount of the compound on the buffing pad.
- Buff the Surface: Gently rub the pad in circular motions over the mirror. This will remove any minor scratches and give a smooth finish.
- Wipe Clean: Use a soft cloth to wipe away any residue.
- Polish with a Soft Cloth: Finally, use a clean, soft cloth to polish the mirror until it shines.
Preventive Maintenance Tips
To keep your mirror in top condition, follow these simple preventive maintenance tips:
- Regular Cleaning: Clean your mirror regularly with a soft, lint-free cloth. Avoid harsh chemicals that can damage the surface.
- Control Humidity: Keep the mirror in a low-humidity environment. High humidity can cause the backing to deteriorate.
- Avoid Direct Sunlight: Place the mirror away from direct sunlight. Prolonged exposure can cause fading and warping.
- Handle with Care: Always handle the mirror gently. Avoid leaning heavy objects against it to prevent cracking.
Following these tips ensures your mirror remains in excellent condition. Enjoy your beautifully restored mirror and the elegance it brings to your space.
Frequently Asked Questions
How Do You Fix A Cloudy Old Mirror?
To fix a cloudy old mirror, clean it with a mixture of vinegar and water. Buff with a microfiber cloth for a clear finish.
Can You Repair A Mirror’s Silver Backing?
Yes, you can repair a mirror’s silver backing. Use a mirror re-silvering kit to touch up the damaged areas.
What Causes Black Spots On Old Mirrors?
Black spots on old mirrors are caused by moisture and age. The silver backing deteriorates over time, leading to these spots.
How Do You Remove Scratches From A Mirror?
To remove scratches from a mirror, apply a small amount of toothpaste. Rub gently with a soft cloth until scratches fade.
Conclusion
Fixing an old mirror can be simple and rewarding. Follow the steps outlined to restore its charm. Gather your tools, be patient, and work carefully. Small repairs can make a big difference. Enjoy the satisfaction of a revived mirror. With these tips, your old mirror will shine again.
Embrace the process and appreciate your handiwork. Reflect on your success and the beauty of restored memories. Happy fixing!

My name is Carson Mackey and I specialize in mirror/glass. With over 8 years of experience in the glass/mirror industry, I am well-versed in all aspects of fabrication, repair and installation. I take great pride in providing my clients with the best quality of service and products. I am passionate about my work and strive to help my clients realize their vision.
Honestly, I am dedicated to providing the best services and products to my customers and I’m always open to learning new techniques and working with advanced materials. Basically, this is a place where I will share my thoughts and experiences on Mirror. And this website (http://mirrortopics.com) is an outlet of my deep passion for Mirror.
I want to clear about MirrorTopics that it’s not any agent or hired organization. It fully customize by me. So I hope, posted information will Realistic and authentic. Although I will do enough research before posting but if you notice any wrong or mistake on my article, please contact with me without any hesitation. As well as you can suggest me about content quality, authentication and so on by using our Contact US page. Thank you my friend to support me.