
Mirrors are important in our homes. They help us see ourselves. Sometimes, mirrors get old. They lose their shine. This makes them look bad. But don’t worry. You can make them look new again. This is called re-silvering. Let’s learn how to re-silver a mirror.
What is Re-Silvering?
Re-silvering is a process. It puts a new shiny layer on the back of the mirror. This shiny layer makes the mirror reflect. When it gets old, the mirror looks dull. Re-silvering makes it look new.
Credit: www.youtube.com
Why Re-Silver a Mirror?
There are many reasons. Re-silvering is cheaper than buying a new mirror. It is also fun. You can do it yourself. It is good for the environment. You do not throw away the old mirror. You reuse it.
Materials Needed
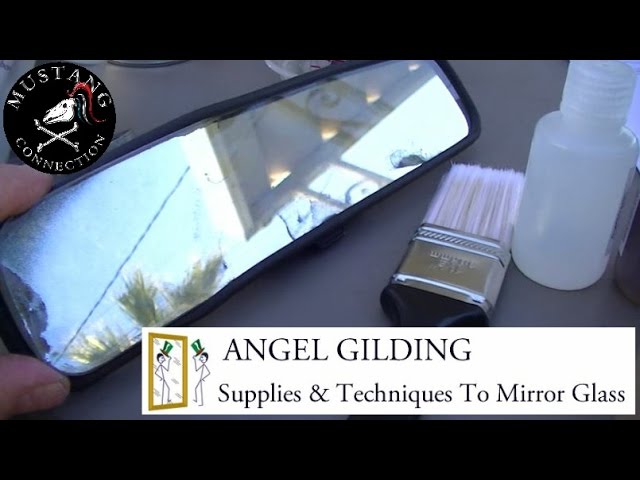
Before you start, you need some materials. Here is a list:
- Old mirror
- Silvering kit
- Gloves
- Safety glasses
- Cleaner
- Soft cloth
- Paint remover
- Brush
- Masking tape

Credit: www.eatsleeplive.co.uk
Step-by-Step Guide
Follow these steps to re-silver your mirror:
Step 1: Remove The Mirror
First, take the mirror out of its frame. Be careful. You do not want to break it.
Step 2: Clean The Mirror
Next, clean the mirror. Use a cleaner and a soft cloth. Make sure there is no dust or dirt.
Step 3: Remove Old Silver
Now, you need to remove the old silver. Use paint remover. Apply it with a brush. Wait for a few minutes. Then, wipe it off. Repeat if needed.
Step 4: Prepare The Mirror
After removing the old silver, clean the mirror again. Use a soft cloth. Make sure it is very clean.
Step 5: Apply New Silver
Now, it’s time to apply the new silver. Follow the instructions in the silvering kit. Wear gloves and safety glasses. Apply the silver evenly. Let it dry.
Step 6: Seal The Silver
Once the silver is dry, you need to seal it. Use the sealant from the silvering kit. This protects the silver. It makes it last longer. Let the sealant dry.
Step 7: Reassemble The Mirror
Finally, put the mirror back in its frame. Be careful. Make sure it fits well.
Tips and Tricks
Here are some tips to make the process easier:
- Work in a well-ventilated area
- Use masking tape to protect the mirror edges
- Be patient. Take your time.
- Follow the instructions in the silvering kit
Common Mistakes
People make mistakes when re-silvering mirrors. Here are some common ones:
- Not cleaning the mirror properly
- Not removing all the old silver
- Not applying the new silver evenly
- Not sealing the new silver
Frequently Asked Questions
What Materials Do You Need To Re-silver A Mirror?
You need silvering kit, glass cleaner, and protective gloves.
Can You Re-silver A Mirror Yourself?
Yes, with the right materials and careful steps, you can.
How Long Does Re-silvering A Mirror Take?
It usually takes a few hours, including drying time.
Is Re-silvering A Mirror Expensive?
It is generally affordable. Silvering kits cost around $50-$100.
Conclusion
Re-silvering a mirror is a great way to make it look new. It is cheaper than buying a new mirror. It is fun to do yourself. Follow the steps in this guide. Use the tips and avoid the mistakes. Your old mirror will look new again.
FAQs
Here are some common questions:
| Question | Answer |
|---|---|
| Can I re-silver any mirror? | Yes, you can re-silver most mirrors. |
| How long does it take? | It takes a few hours. |
| Is it safe? | Yes, but wear gloves and safety glasses. |
| Can I do it alone? | Yes, but help is good. |

My name is Carson Mackey and I specialize in mirror/glass. With over 8 years of experience in the glass/mirror industry, I am well-versed in all aspects of fabrication, repair and installation. I take great pride in providing my clients with the best quality of service and products. I am passionate about my work and strive to help my clients realize their vision.
Honestly, I am dedicated to providing the best services and products to my customers and I’m always open to learning new techniques and working with advanced materials. Basically, this is a place where I will share my thoughts and experiences on Mirror. And this website (http://mirrortopics.com) is an outlet of my deep passion for Mirror.
I want to clear about MirrorTopics that it’s not any agent or hired organization. It fully customize by me. So I hope, posted information will Realistic and authentic. Although I will do enough research before posting but if you notice any wrong or mistake on my article, please contact with me without any hesitation. As well as you can suggest me about content quality, authentication and so on by using our Contact US page. Thank you my friend to support me.